Step 1: Download JDK Setup:
First, you need to download JDK setup from Oracle Corporation’s official site. For this click on the link given below.
https://www.oracle.com/java/technologies/javase-jsp-downloads.html
After clicking the click you can see that JDK’s all versions available there. You need to click on the version which you want to install into your pc. We recommend JDK version 8 because it is more compatible than the latest versions.
After clicking version of JDK, a new page will appear before you. In this section, you see the list of operating system platforms along with their architectures. So now you have to choose your operating system such as Windows, Mac, etc. and its 32bit or 64bit architecture. If you got your Operating System and architecture then click on download which is given at the right-hand side of the table.
Now login with your oracle account. If you don’t have oracle account then first you need to register to oracle account then download the setup.
Step 2: Install the JDK Setup:
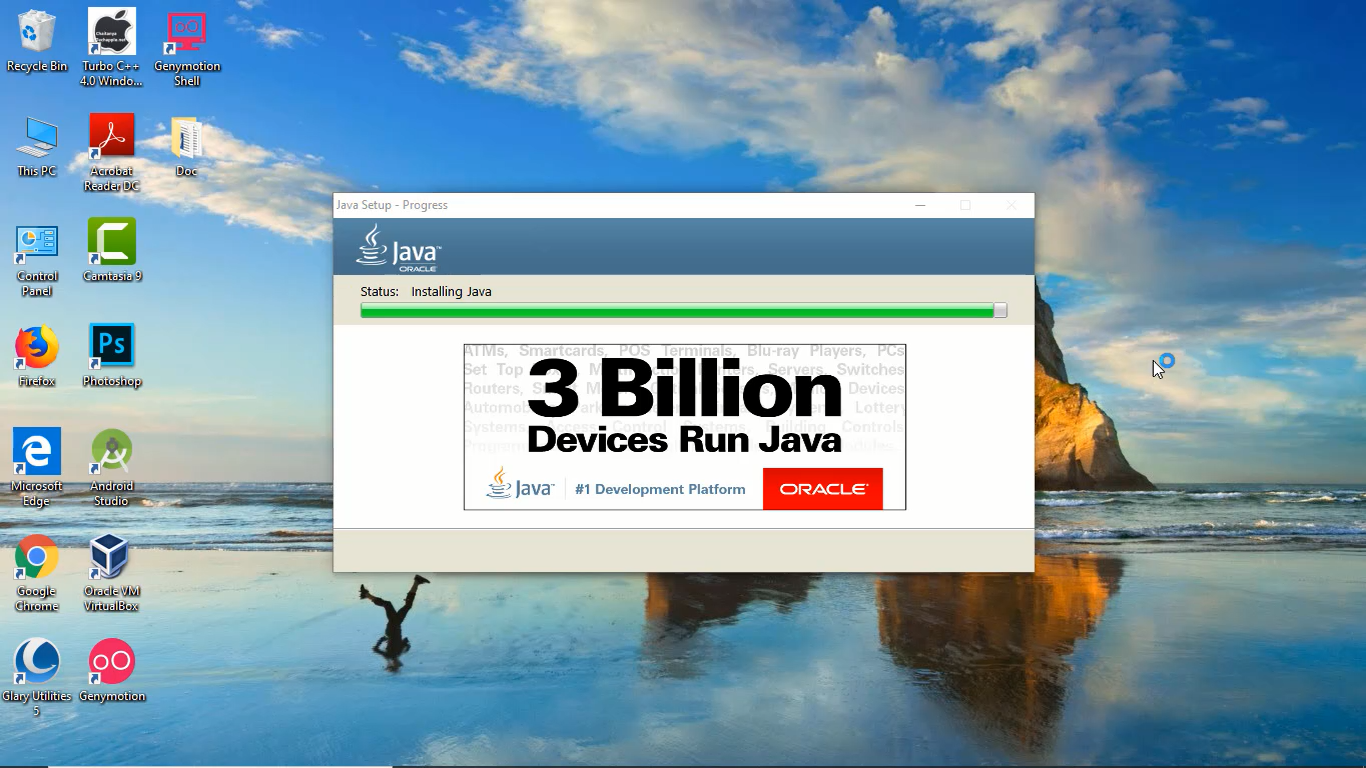
After downloading the setup, double click on the JDK file. A window will appear before you. Click on Next button.
Now, in a new window, you have to give the location path where you want to install JDK. Click on Next. After that wait until installation complete.
Now after completing the installation a new window will appear. This window is concerned with Java Runtime Environment (JRE). In this window, you have to give the path of the location where you want to install JRE. We recommend you provide the same path that you give for JDK. Click on Next. Wait until JRE installation complete.
Step 3: Configure JDK in your System:
Now it’s time to configure the installed JDK with your computer. For this, go to Control Panel and select System.
Or simply search System into your windows 10 Search box or right-click on This PC icon and properties.
After that click on Advanced System Settings. Then click on Environment Variable under the Advanced tab.
A new panel will open. In this, you see two sections that are user variables section and System variables section. Find the path under the System variables section and select it. Then click on the edit button which is given below of section.
Now you can see the list of paths. So click on the new button and copy the path of JDK where you installed JDK. By default, it will be such as “C:\Program Files\Java\jdk1.8.0_221\bin”. Then paste the path and click OK.
Now under the user variables section, Click on New button. New user variable window will open. In variable name, type JAVA_HOME into it and variable value, give the path “C:\Program Files\Java\jdk1.8.0_221” and click on OK. Then again click on OK.
After doing all these things, you need to restart your computer. Now JDK is successfully installed.